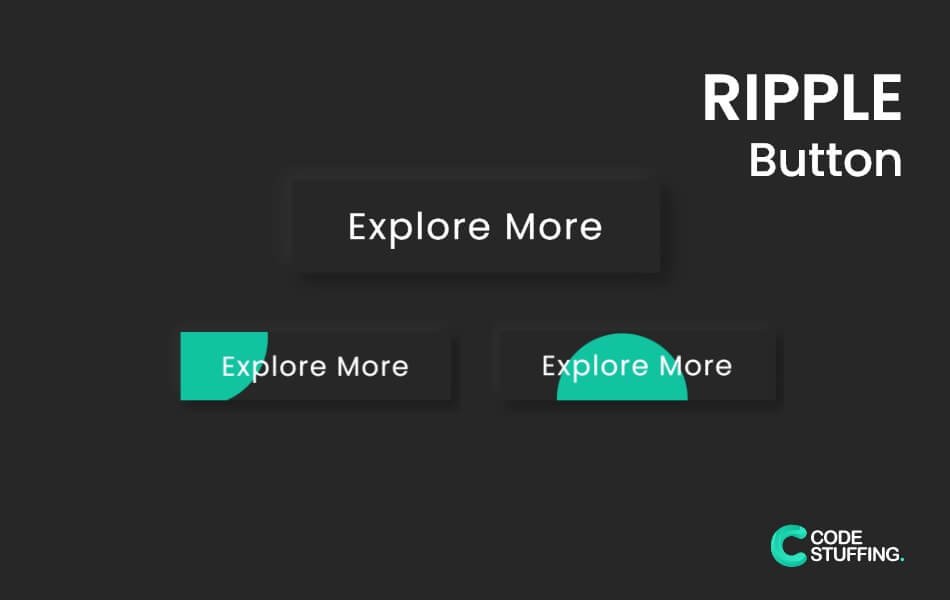

Ripple Button Animation is based on pure Html5, Css3, and Js. This snippet does not have any framework. It is used to grab more attention from your visitors.
Use the below code to make the website more interactive, it’s kind of but not fully user-friendly.
HTML Code:
<a href="#" class="btn_ripple"><span>Explore More</span></a>
CSS Code:
*{

    margin: 0px;
    padding: 0px;
    box-sizing: border-box;
    font-family: 'poppins';
}
body{
    display: flex;
    justify-content: center;
    align-items: center;
    min-height: 100vh;
    overflow: hidden;
    background-color: #272727;
    flex-direction: row-reverse;
    column-gap: 30px;
}
.btn_ripple{
    background-color: #272727;
    position: relative;
    font-size: 20px;
    display: inline-flex;
    padding: 10px 30px;
    color: white;
    overflow: hidden;
    text-decoration: none;
    letter-spacing: 1px;
    text-transform: capitalize;
    box-shadow: -5px -5px 9px rgb(56 56 56 / 45%), 5px 5px 9px rgb(0 0 0 / 30%);
    border-color: #272727;
}
.btn_ripple span{
    position: relative;
    z-index: 1;
}
.btn_ripple::before{
    content: '';
    position: absolute;
    top: var(--y);
    left:  var(--x);
    transform: translate(-50%,-50%);
    width: 0;
    height: 0;
    background: #11C3A1;
    border-radius: 50%;
    transition: width 0.6s, height 0.6s;
}
.btn_ripple:hover::before{
    width: 100px;
    height: 100px;
}
JS Code:
document.querySelectorAll("a.btn_ripple").forEach(function(btn){

    btn.onmousemove = function(e){
        const x = e.pageX - btn.offsetLeft;
        const y = e.pageY - btn.offsetTop;

        btn.style.setProperty("--x", x + "px");
        btn.style.setProperty("--y", y + "px");
    }
});
#BeingCodeStuffer

